
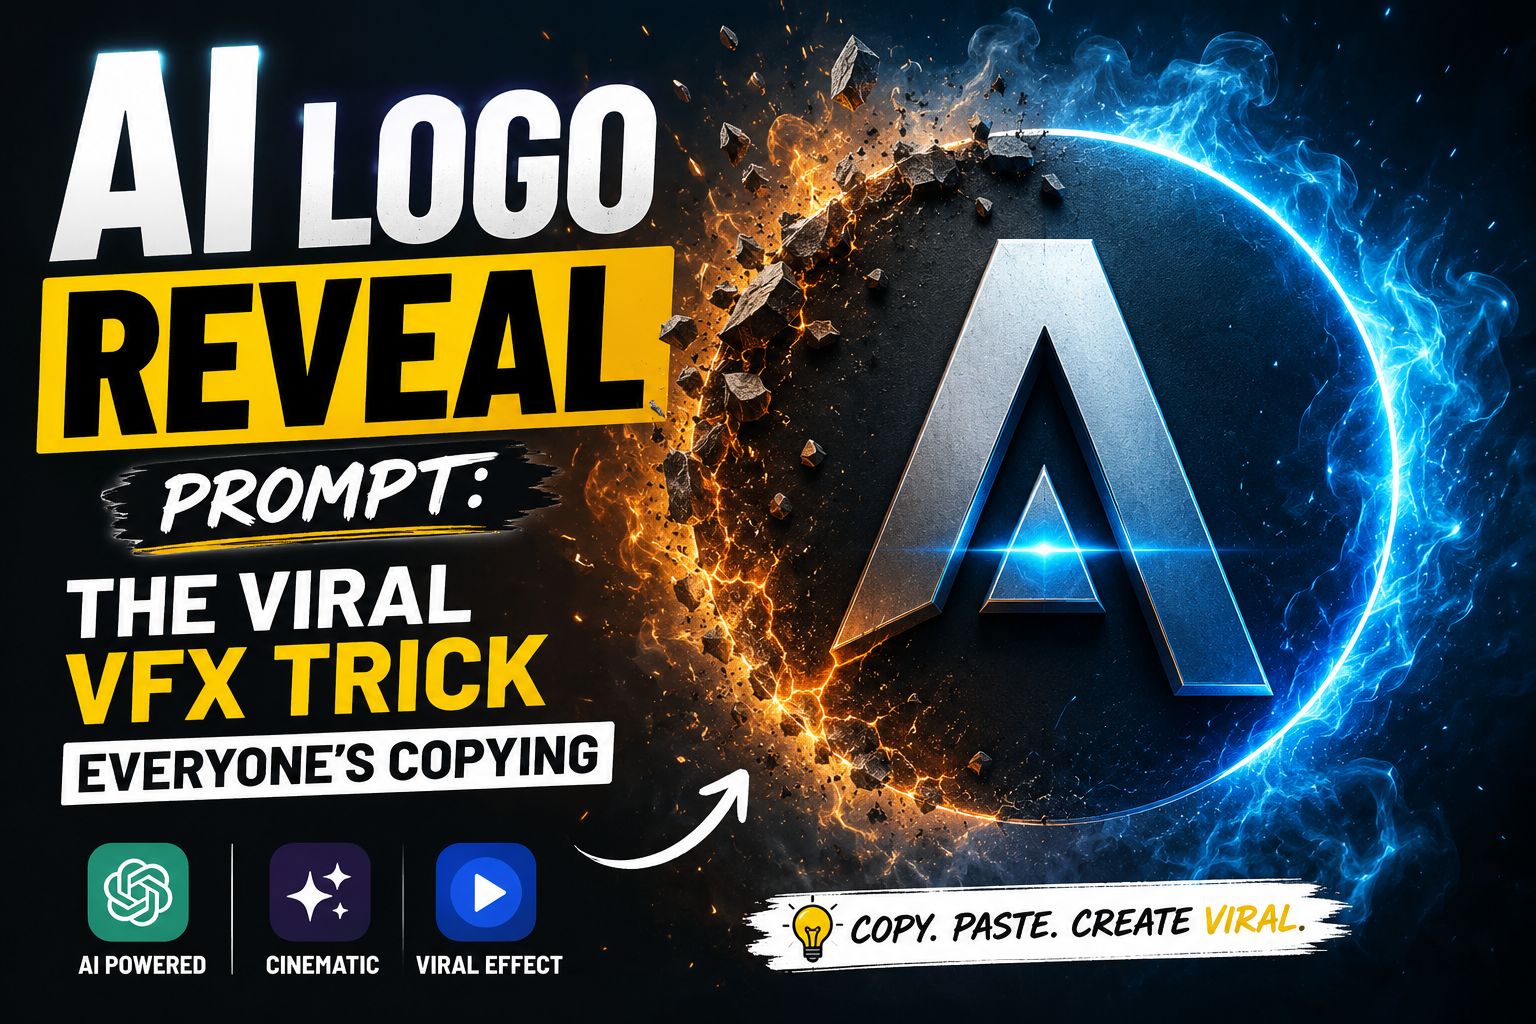
You’ve seen it. A coffee shop counter, empty. Two seconds later, the logo is sitting right there in glowing neon or stamped leather, like it was always meant to be there. No cuts, no weird morphing, no random background changes. It just… appears.
I kept seeing this style pop up on Reels and TikTok this month, and once I dug into a few of them, the pattern became obvious. Creators aren’t reshooting anything. They’re taking one static photo — a shopfront, a product shot, a wall — and running it through an AI video tool with one very specific, very detailed prompt.
I tested it myself with a couple of AI video generators and honestly, it works better than I expected. So instead of keeping it to myself, here’s the exact prompt, why it’s built the way it is, and how to make it work for your own brand.
Why This Trend Is Blowing Up Right Now
Most AI video prompts fail for one boring reason: they change too much. You ask for a “logo reveal” and the tool decides to redo your lighting, shift your camera angle, or randomly generate a completely different background. It stops looking real and starts looking like an AI clip — which kills the “wait, how did they do that?” reaction that makes these videos shareable in the first place.
The prompt below solves that by being almost stubborn about what it won’t let the AI touch. It locks the camera, locks the scene, and only allows one thing to move: your logo. That restraint is exactly what makes the final result convincing enough to stop the scroll.
The Prompt (Copy and Paste This)
Upload a clear photo of the space where you want your logo to appear — a wall, a counter, a signboard, a product — then paste this into your AI video tool of choice:
This is a VFX reveal effect on a static scene, not a redesign or regeneration of the scene. The camera position, angle, and framing stay exactly the same as the uploaded reference image throughout the entire clip. The only thing that animates is [SUBJECT/LOGO] itself appearing gradually in its exact original place — everything else in the frame (background, surface, lighting) stays fixed and unchanged, like a motion graphics overlay on a still photo. The final frame should look identical to the uploaded reference image.
[0:00–0:02] Start with [SURFACE/AREA] empty, no [SUBJECT/LOGO] present. [CAMERA MOVEMENT — e.g. slight camera zoom-in begins, a gentle and minimal movement, or slight camera tilt left and right begins, a gentle and minimal side-to-side motion.]
[0:02–0:0X] [REVEAL STYLE matching the subject’s real material — e.g. extrude/pop-out for raised acrylic letters, emboss/stamp for a leather patch, embroidery stitch for fabric badges, neon flicker for lightbox signage, glow emerge for backlit circular signs.]
[0:0X–0:10] [SUBJECT/LOGO] fully in place, matching the reference image. Camera continues its movement from above and holds until the end.
Negative Prompt: Do not change the camera angle or framing beyond the specified movement. Do not change where [SUBJECT/LOGO] sits in the frame. Do not add extra text or objects. No sudden cuts or transitions. No talking. Exactly 10 seconds.
How to Fill In the Blanks
- [SUBJECT/LOGO] — Be specific. “The coffee shop’s circular wooden logo” works better than just “logo.”
- [SURFACE/AREA] — Name exactly where it sits: “the brick wall above the counter,” “the center of the white t-shirt.”
- [CAMERA MOVEMENT] — Keep it minimal. A slow zoom or a soft left-right tilt sells realism far better than a dramatic sweep.
- [REVEAL STYLE] — Match the material, not the trend. A neon flicker on a leather patch will look fake immediately. This is the detail most people skip, and it’s the one that makes or breaks the illusion.
How to Run This Prompt in Google Flow
If you’re using Google Flow (the tool behind Veo), here’s exactly where everything goes:
Refine if anything drifted. If the camera or background shifted, tap “Edit prompt” and tighten the negative prompt language, or swap in a cleaner reference photo. Subtle camera movement always holds up better than dramatic ones.
Open Flow and start a new project. Head to labs.google/flow, sign in with a Google AI Pro or Ultra subscription, and click “+ New project.”
Pick “Frames to Video,” not “Ingredients to Video.” This is the step people get wrong most often. Ingredients to Video blends multiple reference images together, which can distort your scene. Frames to Video locks your uploaded photo as the actual starting frame, which is what keeps the camera and background frozen in place.
Upload your reference photo. Use a clean, well-lit, in-focus shot of the exact spot where the logo should appear. The sharper the photo, the less room the model has to improvise.
Select Veo 3.1 as the model. It gives you more accurate scene control, and you’ll need it if you want native audio in the clip.
Paste the prompt in as written, swapping in your own [SUBJECT/LOGO], [SURFACE/AREA], [CAMERA MOVEMENT], and [REVEAL STYLE]. Flow reads plain English, so skip quality tags like “8K” or “masterpiece” — they don’t do anything here.
Generate, then check the first and last frame. Veo generations cap out around 8 seconds, so if you want the full 10-second version, either compress the timing markers in the prompt or generate and extend the clip afterward.
Try It and See What You Get
This prompt works for shopfronts, product packaging, apparel, signage, even a laptop lid. Swap the reveal style to match your material, keep the camera movement subtle, and let the negative prompt do its job of keeping everything else locked in place.
If you try it, I’d genuinely like to see what you get — drop it in the comments or tag the result. And if you’re building out a whole set of these for a brand, save this prompt somewhere you can quickly copy from, because you’ll be reusing it a lot.